What is a lithophane?
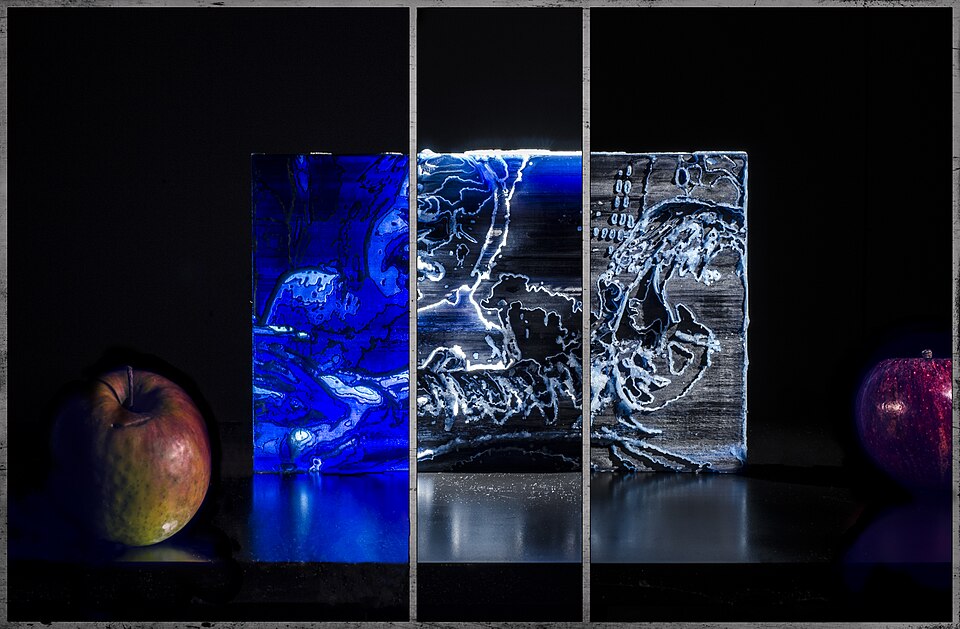
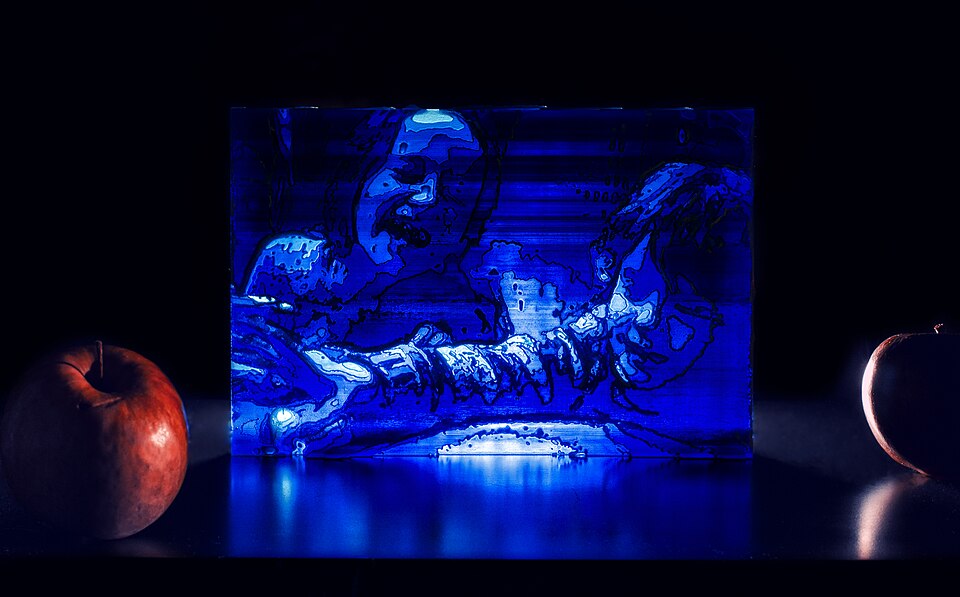
A lithophane is a thin relief that uses light passing through material. At first it may look like a subtly textured surface. Place a suitable light behind it and the different thicknesses create an image, from lighter to darker areas.
It is not a colour photo printed onto a flat surface. The image comes from the combination of light and a three-dimensional relief. That makes lithophanes useful as framed panels, lamp inserts or other illuminated objects; the intended placement should be considered during design.
Choosing and preparing a photograph
A photo usually works best when the main subject is clear and distinct from its background. Good focus, enough light and readable contrast help. Very dark images, tiny details or crowded scenes may lose definition when converted into a relief.
Cropping can matter as much as the source image. It is not always useful to preserve every pixel; focusing on a face, object or outline can produce a clearer result. If image adjustments are needed, we can discuss the crop and the expected outcome before production.
- Choose a sharp photo without heavy blur.
- Keep the main subject easy to recognize.
- Expect tiny details to simplify in the relief.
- Think about the final size and how it will be lit.
Translating the image into thickness
During preparation, image values are converted into different thicknesses in the relief. Darker areas are commonly made thicker so they block more light, while lighter parts are thinner. The exact mapping depends on the design and its orientation.
The format, border, curvature and mounting also need to be considered. For a lamp or frame, it helps to know where the light will sit and how the piece will be supported. These practical details affect the finished impression just as much as the photo itself.
Where 3D printing comes in
The relief is prepared as a 3D model and reviewed in slicer software. A slicer translates the model into layers and print paths. For lithophanes, even thin sections, orientation and settings matter so the image can be produced without unnecessary defects.
Depending on the size and settings, a print can take several hours. Afterwards, supports are removed where needed and the piece is checked for surface damage and consistency with the agreed design. Time and price therefore depend on format, geometry and finishing.
Light is part of the design
The result also depends on the light source and its distance from the relief. Weak or uneven lighting can flatten the image, while suitable diffused light can make the tonal differences easier to see. The illustrations above show comparable reliefs without light and with backlighting.
When requesting a lithophane, mention whether you want a standalone panel, an insert for your own frame or a design for a particular lamp. That information helps set the shape and dimensions. A lithophane is not just a photo turned into plastic; it is a small light-based object designed for its setting.